 I shared my basic popover recipe on my old, defunct blog about trying to become a good cook. Since I count cooking and baking as creating and "food crafting," I like to share my favorite recipes here too. I love making popovers on the weekend, and I don't do it as much as I should. A month or two will go by, and I'll think, "Hey. I haven't made popovers in a while!"
Popovers are easy to make, are impressive to those who don't make them, and they taste good! As an added plus, you can get really creative with what you put on them. Since they aren't a sweet bread, you can go sweet or savory with them. While I've had some delicious dinner popovers, flavored with herbs like rosemary, I prefer to use the basic recipe and make compound butters to go with them.
When I first wanted to try out making popovers at home, I was under the impression that I needed a popover pan or they wouldn't get that wonderful, tall, puffiness that is indicative of a popover. I'm glad to report that you can use a regular muffin pan to make them! They won't get as tall as they would in a popover pan, but they do have that telltale popover look to them, and they cook perfectly.
I've been making these for a little over six years now, and I've figured out a few things that make them even easier to whip up. Want to make your own? Here's how I like to do it:
.JPG "Blended popover batter") |
| The blender gives you bubbles! |
Basic Popovers
4 eggs (should equal 1 cup)2 cups milk
2 cups flour (not sifted)
1 tsp salt
Preheat oven to 450 degrees. The rack should be in the middle position. Spray a 12-cup muffin pan with Pam or other nonstick cooking spray. Make sure you get all the way up the sides and on the top edge of each cup. If you don't get everything lubricated, your popovers might stick to the pan and they won't rise properly.
Once your oven is to temperature, put all ingredients in a blender. I like to layer everything so it blends more easily - wet on the bottom, dry in the middle, and wet on top. Make sure you scrape down the sides of the blender partway through blending; the flour tends to stick to the sides.
.JPG "Popover batter in a muffin pan") |
| Fill the cups almost to the top. |
Bake at 450 degrees for exactly 30 minutes. If you peek while they are baking, they will fall.
When 30 minutes have passed, remove the pan to a cold burner or wire rack and pierce the top of each popover with a sharp knife to release the steam.
Let the popovers stand in the pan for a minute or two before serving.
Makes 12 popovers
.JPG "Delicate interior of a popover") |
| Crusty outside with a soft inside |
Here are recipes for my two favorite things to slather all over my popovers.
Cashew Butter
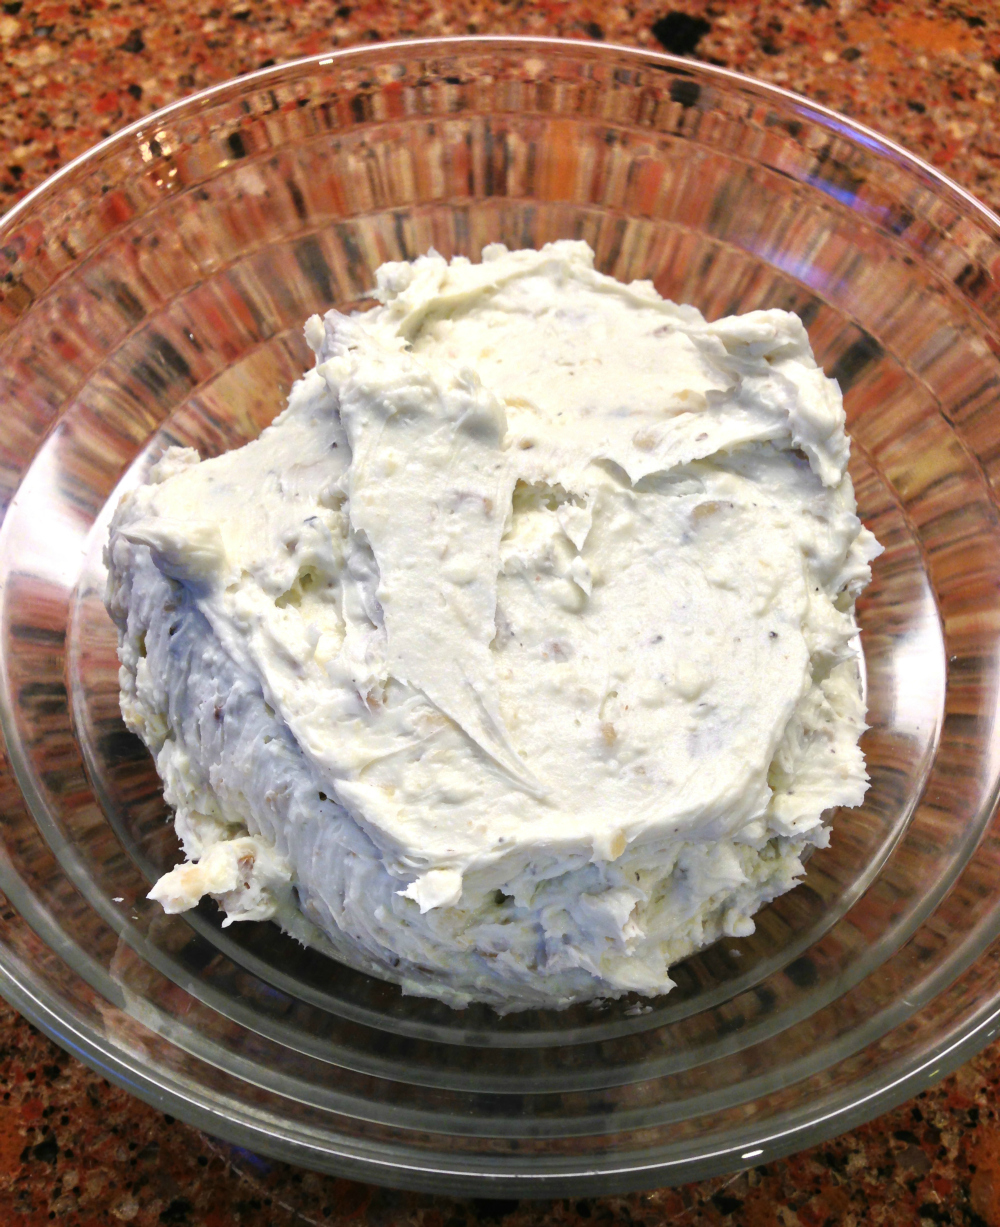
1/2 cup softened butter (1 stick, 1/4 pound)2 Tbsp finely chopped salted or unsalted cashews (measure AFTER chopping)
Soften the butter and place it in a small mixing bowl.
Chop the cashews in a food processor or with a knife until they are as close to paste as you can get them. Measure 2 tablespoons of the chopped cashews and add them to the softened butter. Mix until well blended. Cover and refrigerate until you plan to use it. Keep refrigerated after use. When you remove this butter from the refrigerator, let it soften for a few minutes before using it so it will be able to spread.
Honey Butter
1/2 cup softened butter (1 stick, 1/4 pound)1 Tbsp honey
Soften the butter and place it in a small mixing bowl.
Add the honey and mix it with the butter until well blended. Cover and refrigerate until you plan to use it. Keep refrigerated after use. When you remove this butter from the refrigerator, let it soften for a few minutes before using it so it will be able to spread.
If you try out any of these recipes, I'd love to hear about it!


.JPG)